WordPress has the ability to set a featured image for each post. The featured image represents the post and is typically displayed above the post content e.g. this post. Also the featured image is displayed in posts lists and on archive and search result pages.
In this beginner’s guide, we’ll explain how to set the featured image of a post in WordPress.
Step 1: Access the Post Editor
First, log in to your WordPress dashboard and go to the “Posts” section. From there, select “Add New” to create a new post or edit an existing one.
Step 2: Find the Featured Image Box
On the right-hand side of the post editor, you’ll see the “Featured Image” box. Click on the “Set featured image” link to continue.
Step 3: Upload an Image
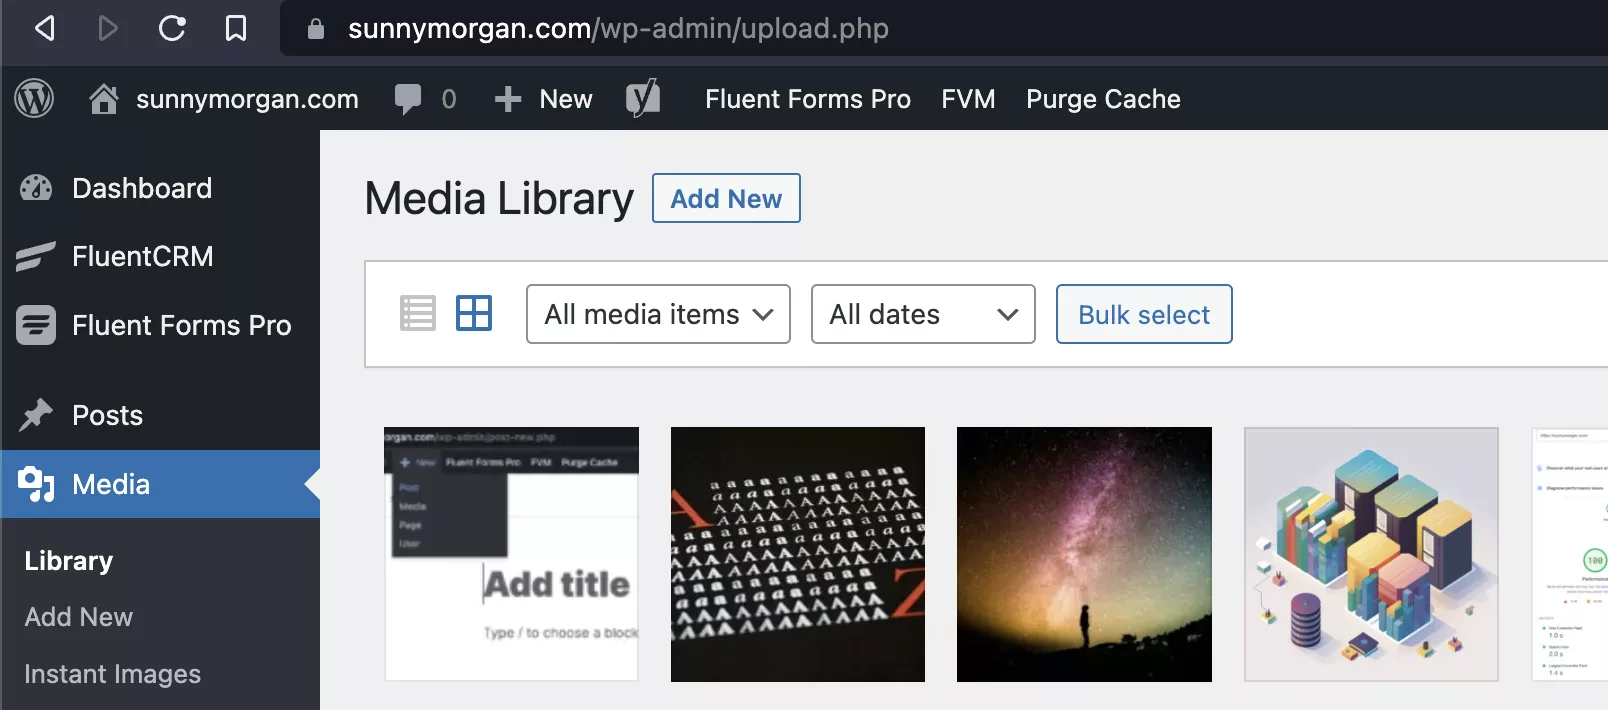
You can either upload an image from your computer or select an existing one from your WordPress media library. To upload a new image, click on the “Upload Files” tab. To select an existing one, click on the “Media Library” tab.
If you’re uploading a new image, click the “Select Files” button or drop an image file directing into the media library. If you’re selecting an existing image, click on the image and then click “Set featured image”.
Step 4: Save and Publish
Once you’ve set your featured image, click either “Save” or “Publish” to make your post live.
That’s it! Your featured image will now be displayed on the front page, archive pages, and search results.
Here are some tips to keep in mind:
- Choose an image that’s relevant to your post content and visually appealing to catch visitors’ attention.
- Ensure that your featured image is the right aspect ratio (typically landscape) and correct resolution (at least 1900 pixels wide).
In summary, setting a featured image for a post in WordPress is a straightforward way to improve your website’s visual appeal and user experience.